Image Design Elements
Adding an Image Element
When you select Image and add a new design element, the selected Image is positioned in the top left of the selected page. Click in the outer ring of the Image and drag it to the location on the product page where you want to position it. A set of Image Tools are displayed above the canvas:
- Change background color.
- Border.
- Size & Position.
- Arrange.
- Alignment.

See Personalizing Images for further details on uploading and adding an Image to a SmartCanvas product.
Image Tools
Select an Image element to access Image Tools.
Change image
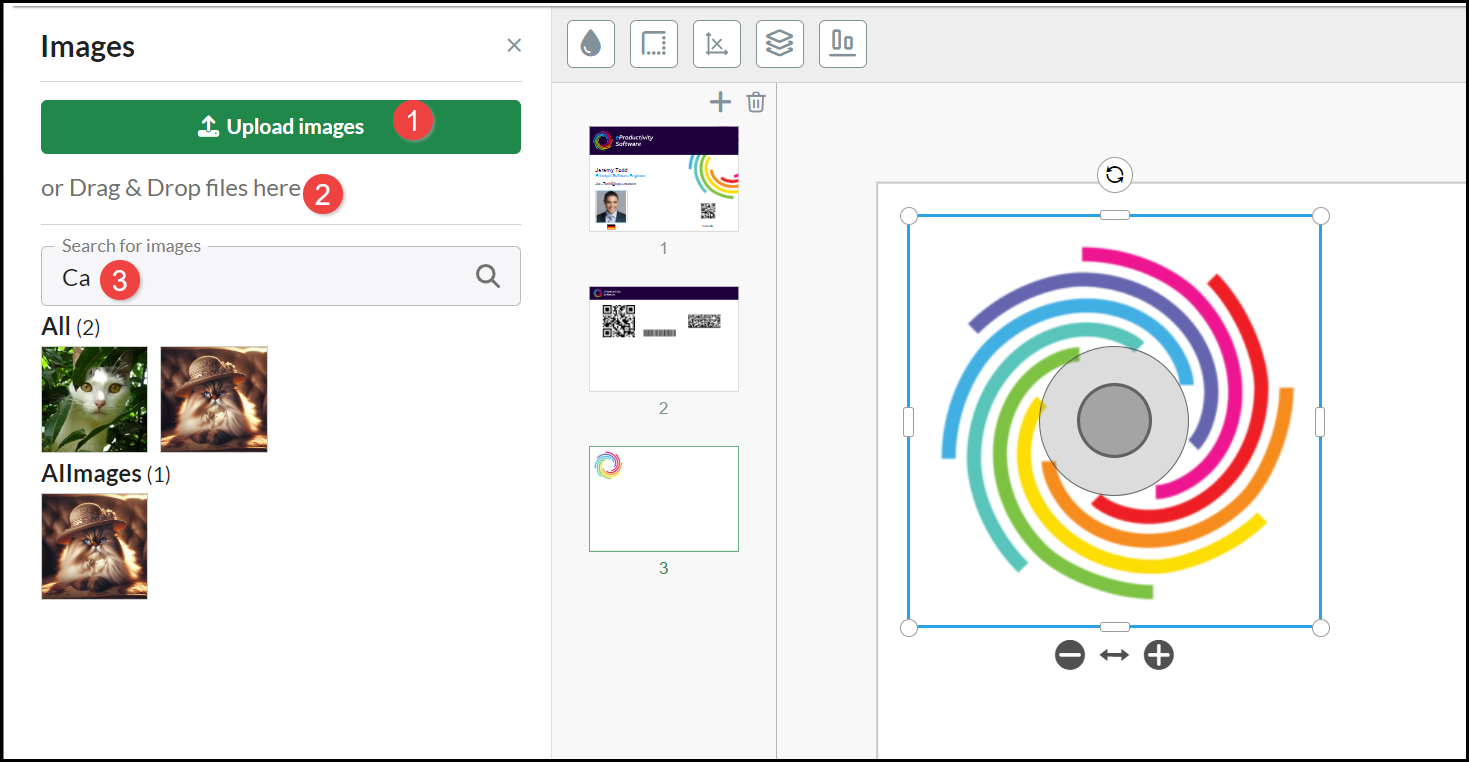
Select Change Image to select a different image.
- Upload images from your device. When you select an image it is uploaded into the All Image category of images.
- You can Drag & Drop an image to be uploaded into the All Image category of images.
- You can scroll the image library, using either All or within specific named Categories of images. Select VIEW MORE to see additional images with a Category. You can Search for images by entering part of an image name or a term that might identify suitable images.
Note: When you Upload or Drag & Drop images, they are only available for you to see and select when purchasing that particular product. No other people purchasing the same or other products have access to your images and you will not have future access to those images when creating further product personalizations.
Important: Uploading an image that has a low resolution impacts the print quality, no warning is displayed (unlike when you are personalizing an image in an Input field) so please check that your Image has good quality resolution.
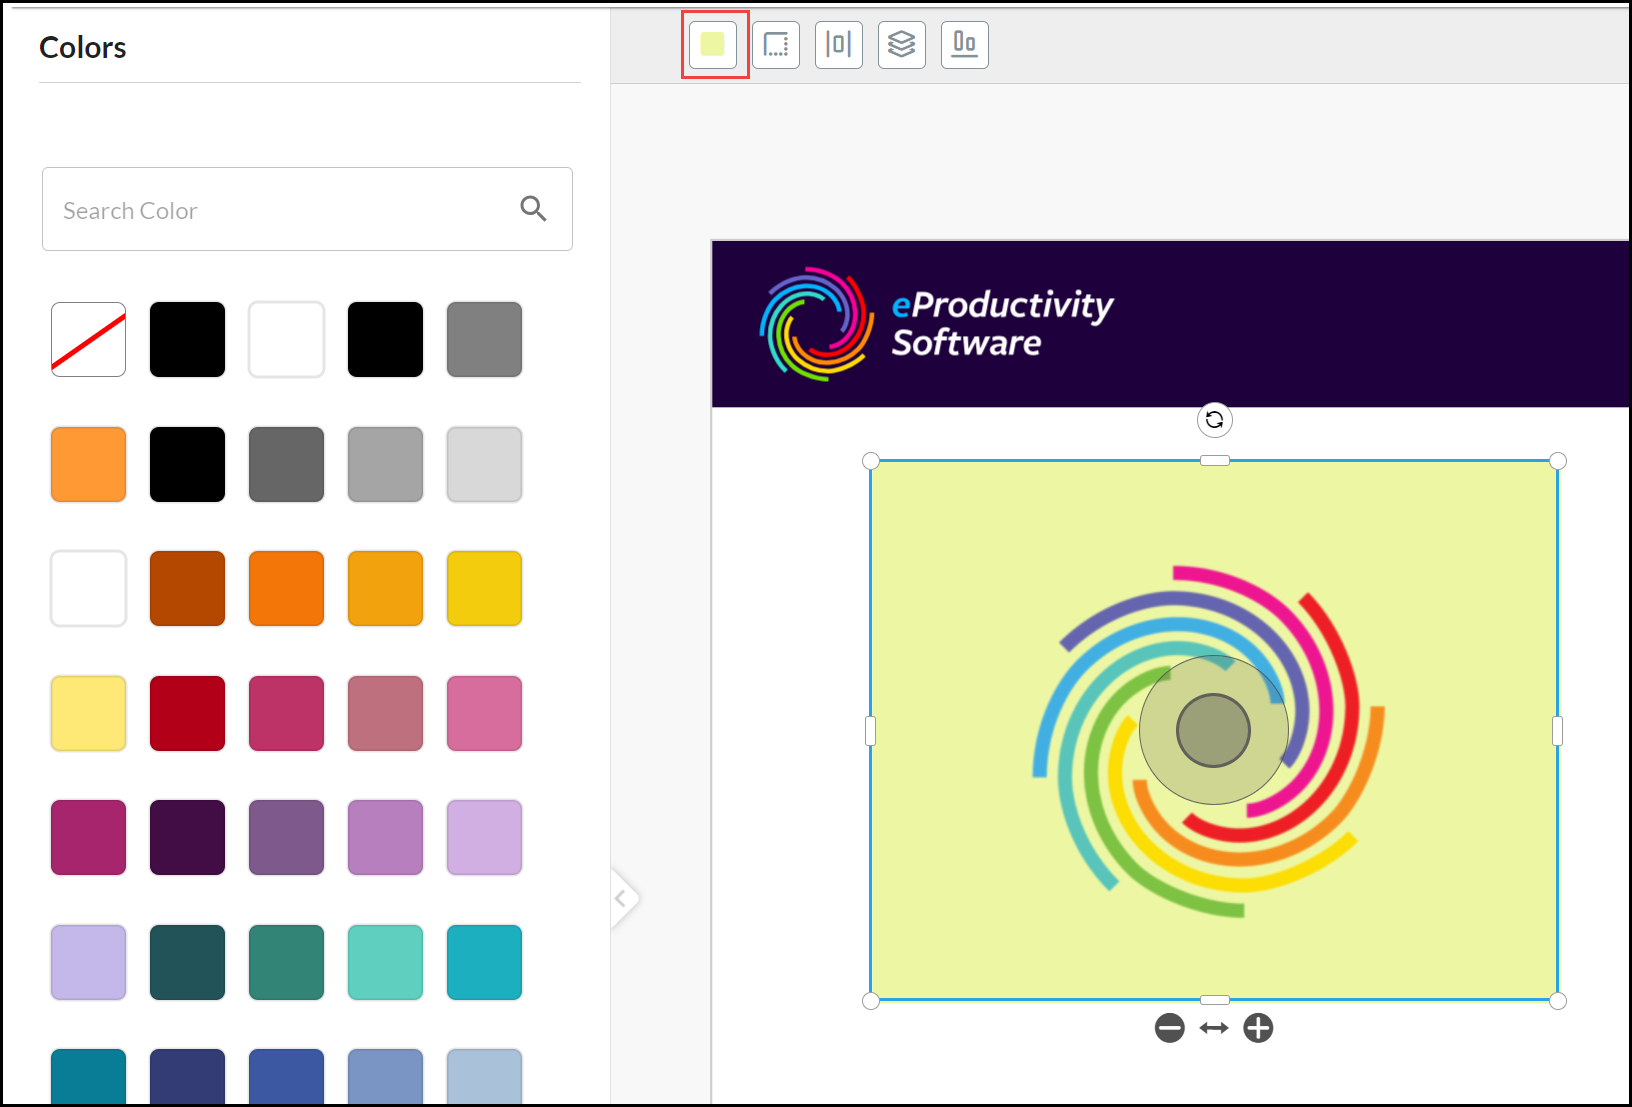
Change Background
You can select and apply a Color from the Change background color palette. The background color is applied to the image (inside the Border frame and displayed in the Image tool when the image is selected):
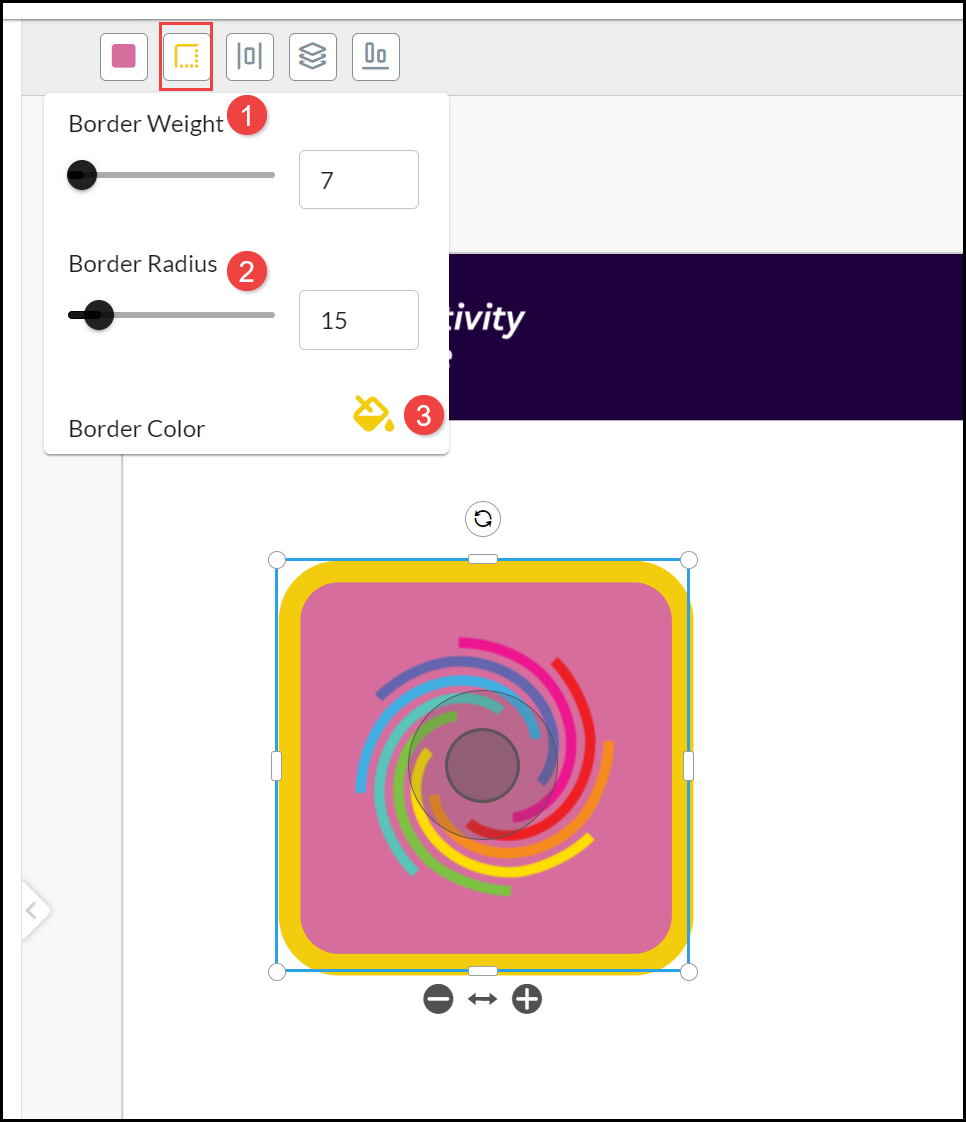
Change Border
Select the Image and click the Border Tool:
- Change the Border Weight by using the slide or entering a value (in pixels).
- Change the Border Radius by using the slide or entering a value (in pixels).
- Select a Border Color from the palette.
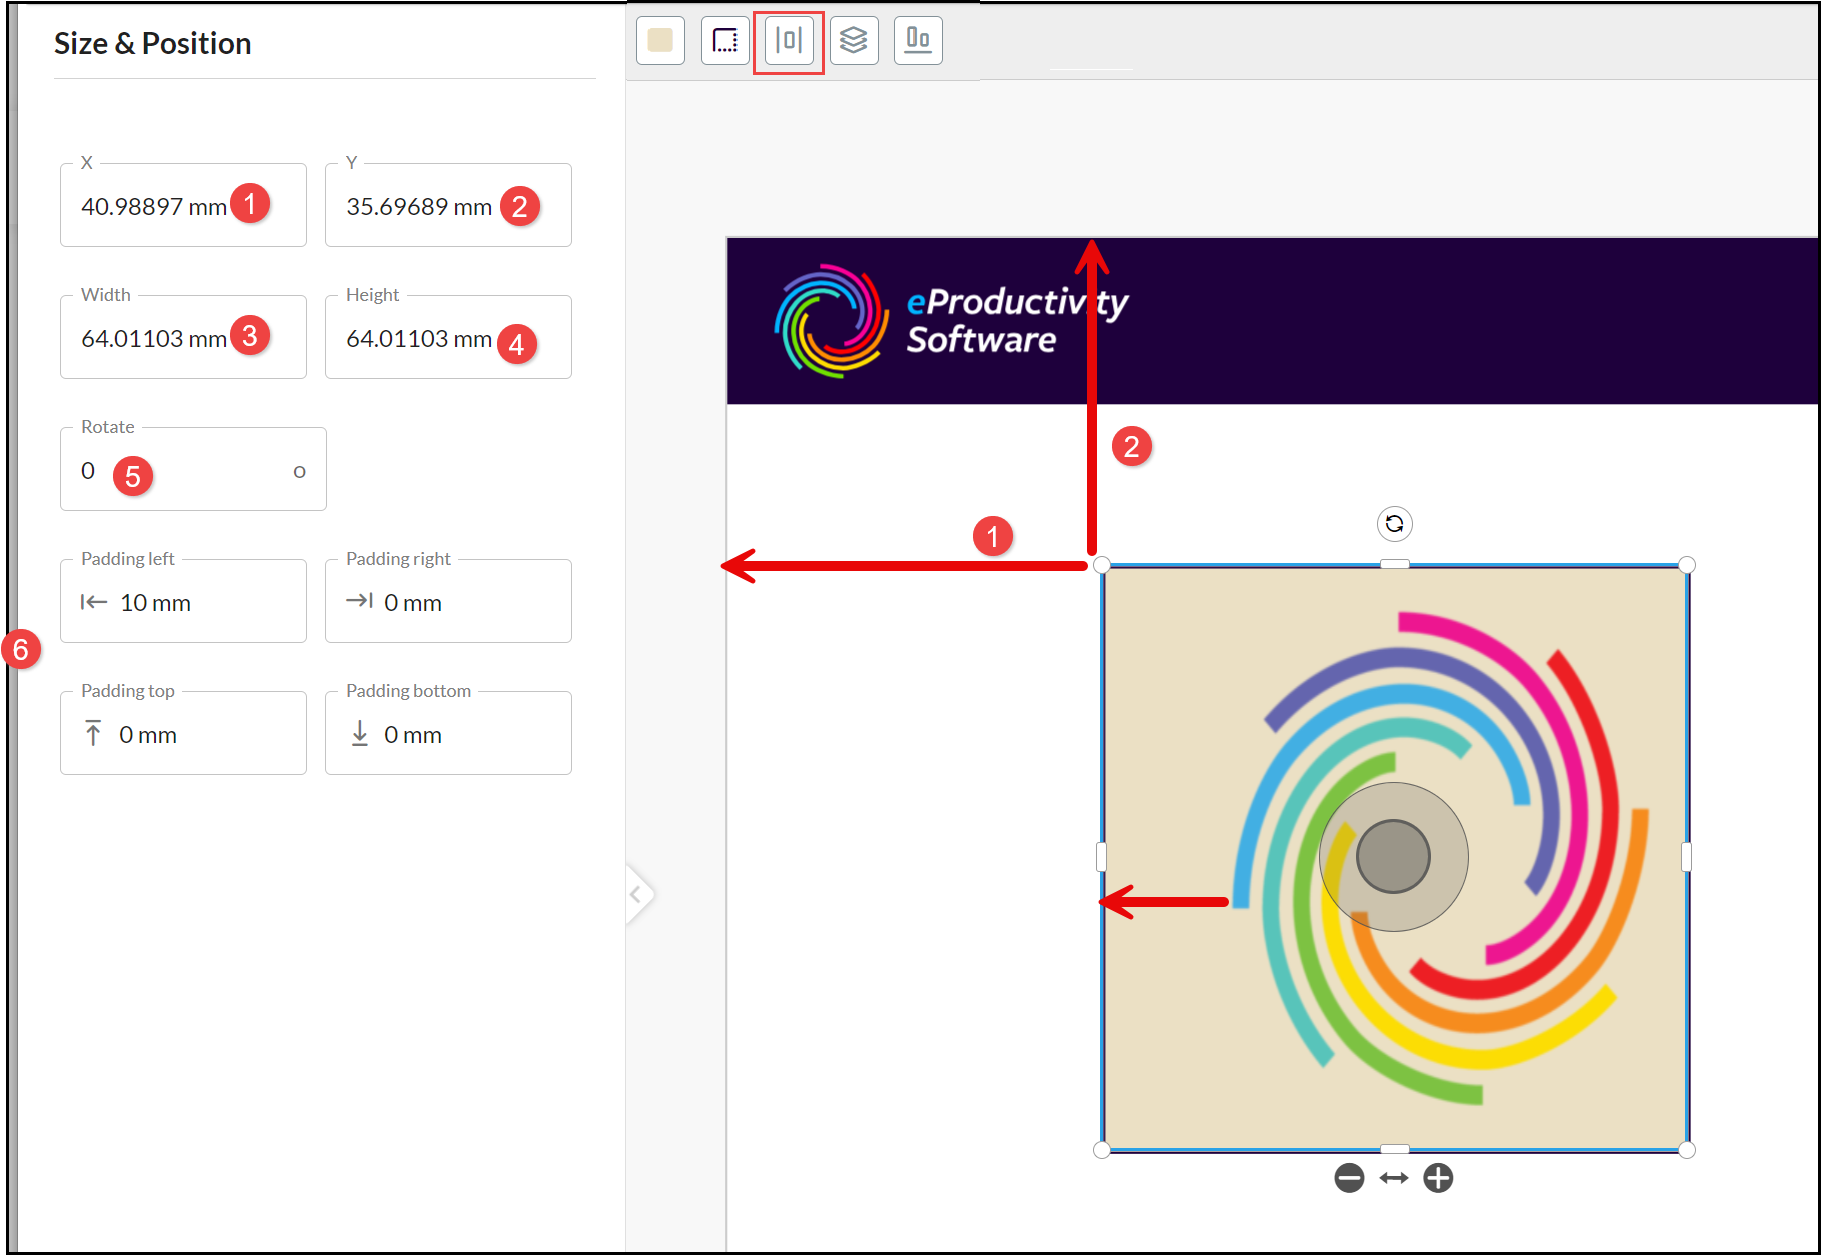
Size & Position
Select an Image and choose the Size & Position Tool to more accurately (up to five decimal places), enter the:
- X coordinate location of the image from the left page edge to the top left corner of the image.
- Y coordinate location of the image from the top page edge to the top left corner of the image.
- Width of the image.
- Height of the image.
- Rotate angle of the image.
- Padding can be added to increase space between the image and the associated border, for example, Padding left. The center of the Border frame remains in the same position but additional padding space is added.
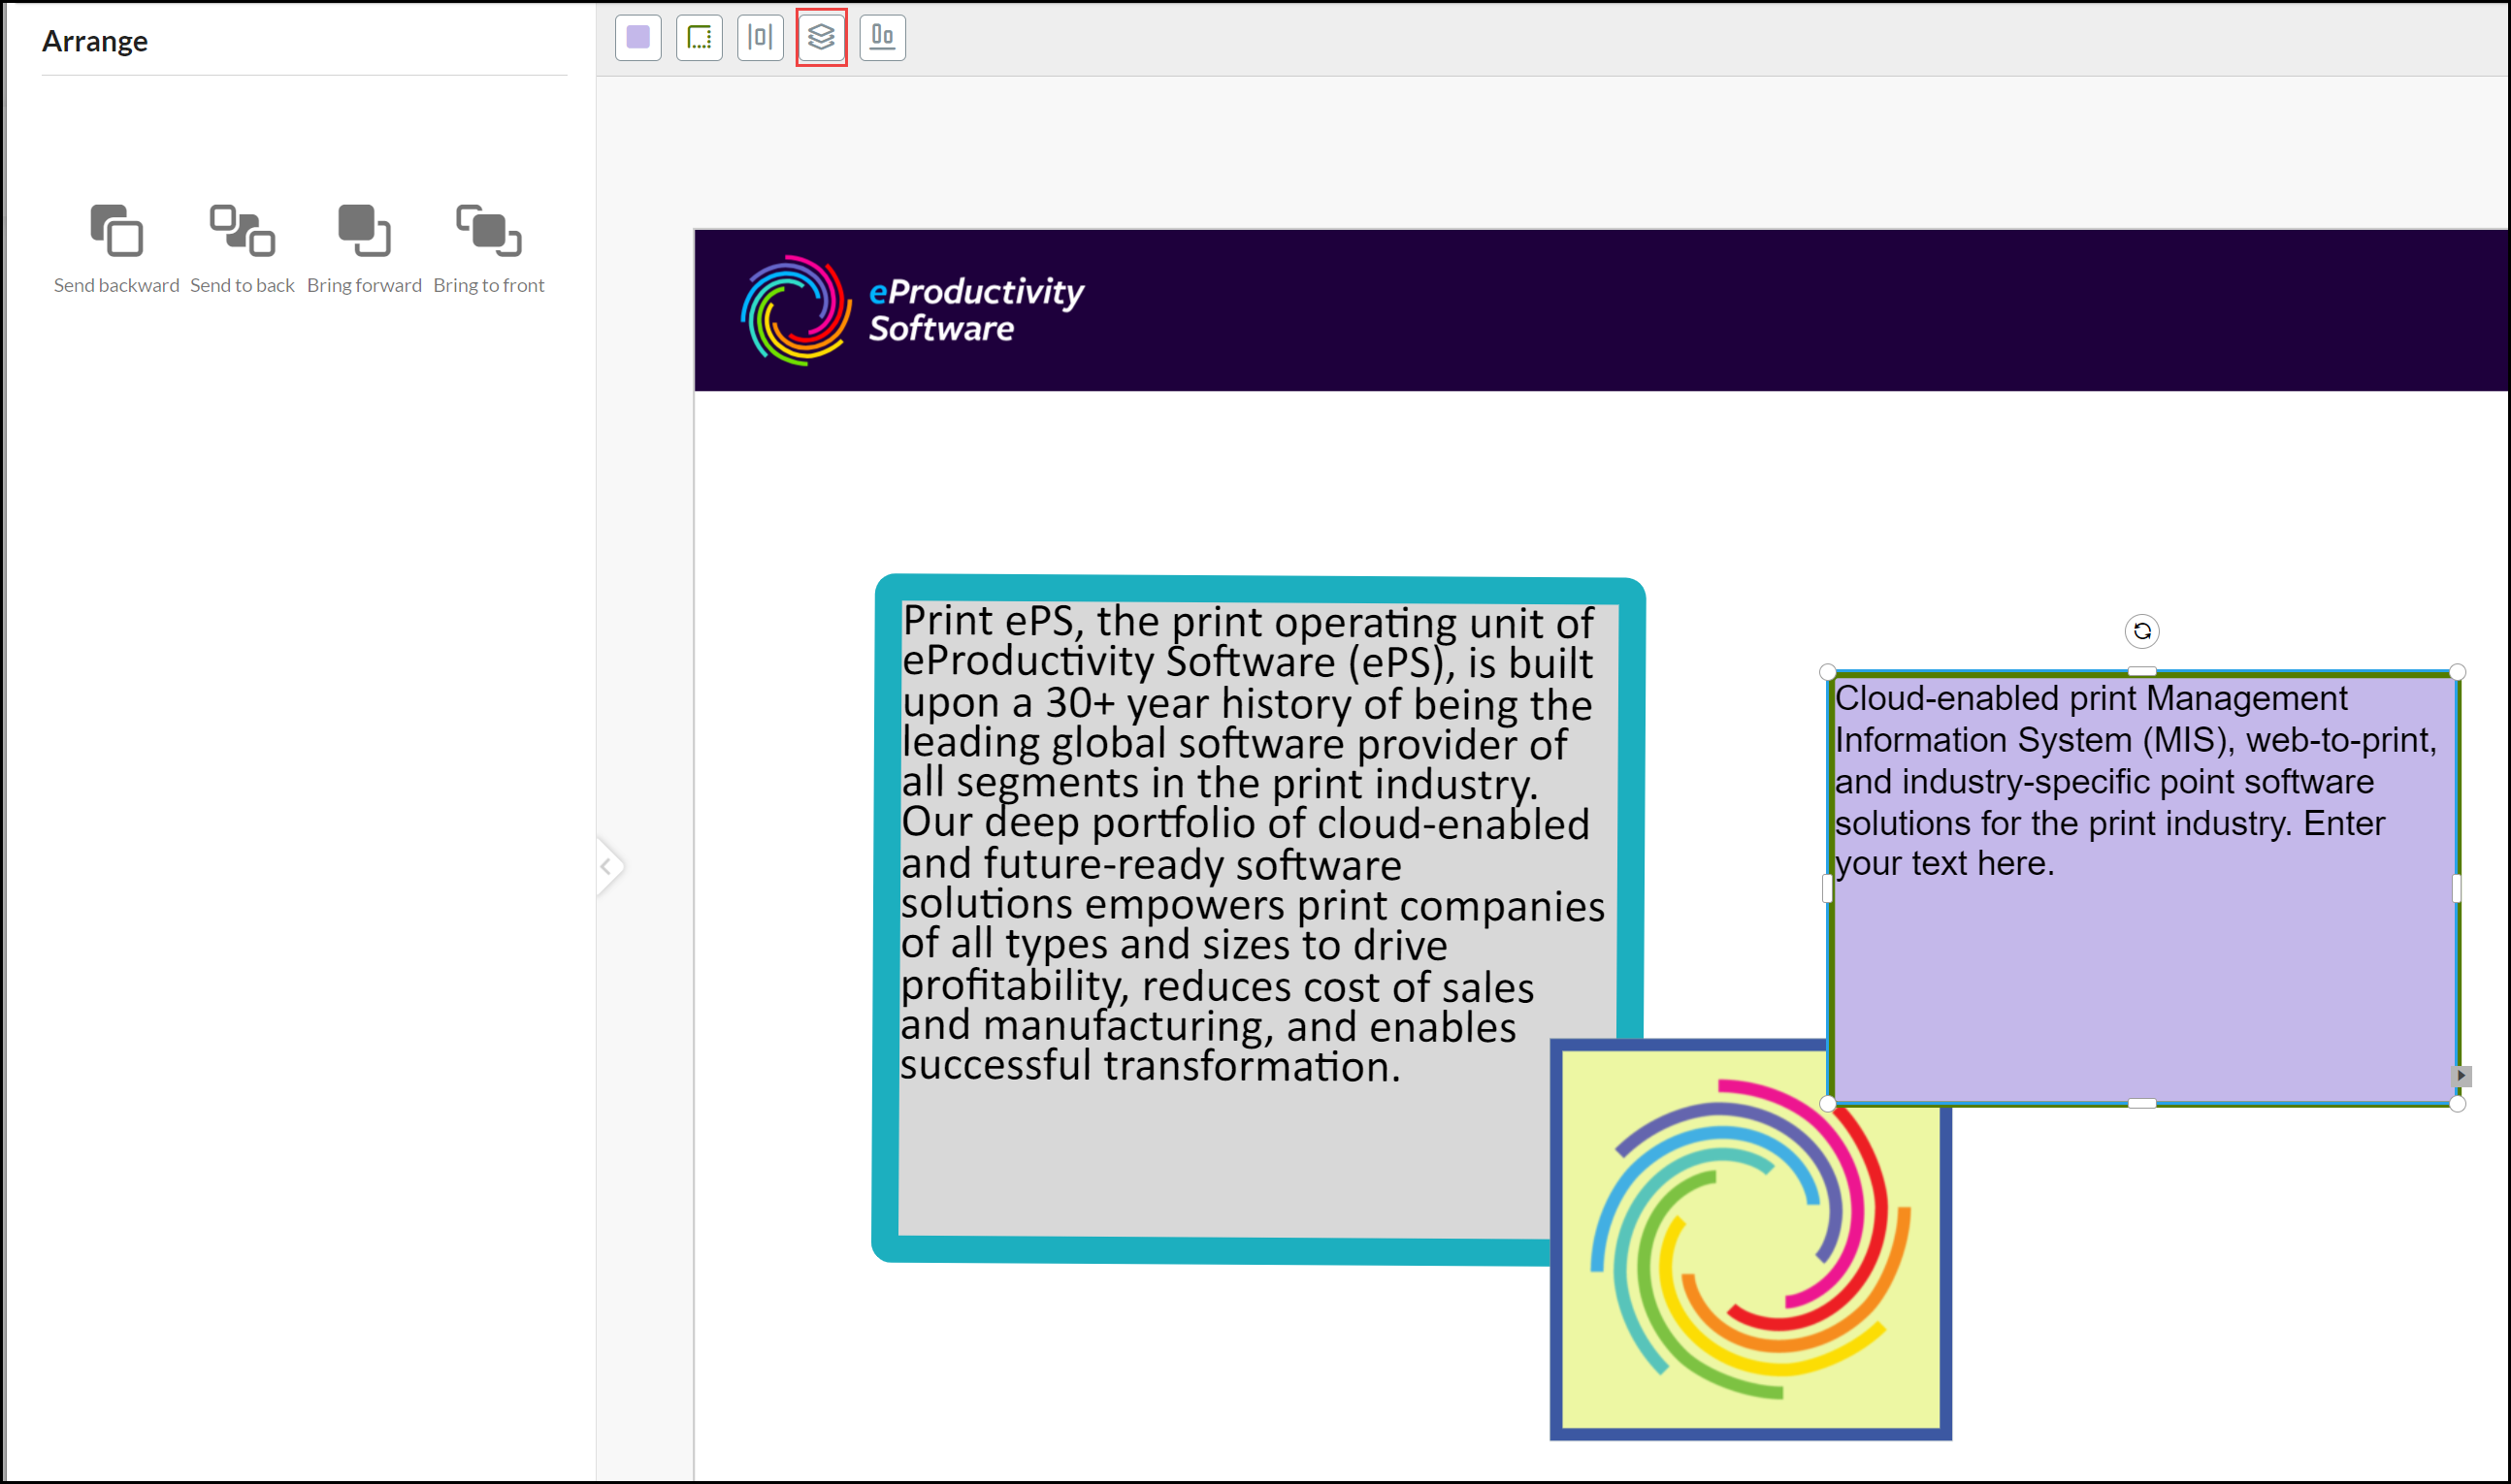
Arrange
Select an Image and choose the Arrange Tool. Choose an option to move it in relation to other overlapping elements:
- Send backwards.
- Send to back.
- Bring forwards.
- Bring to front.
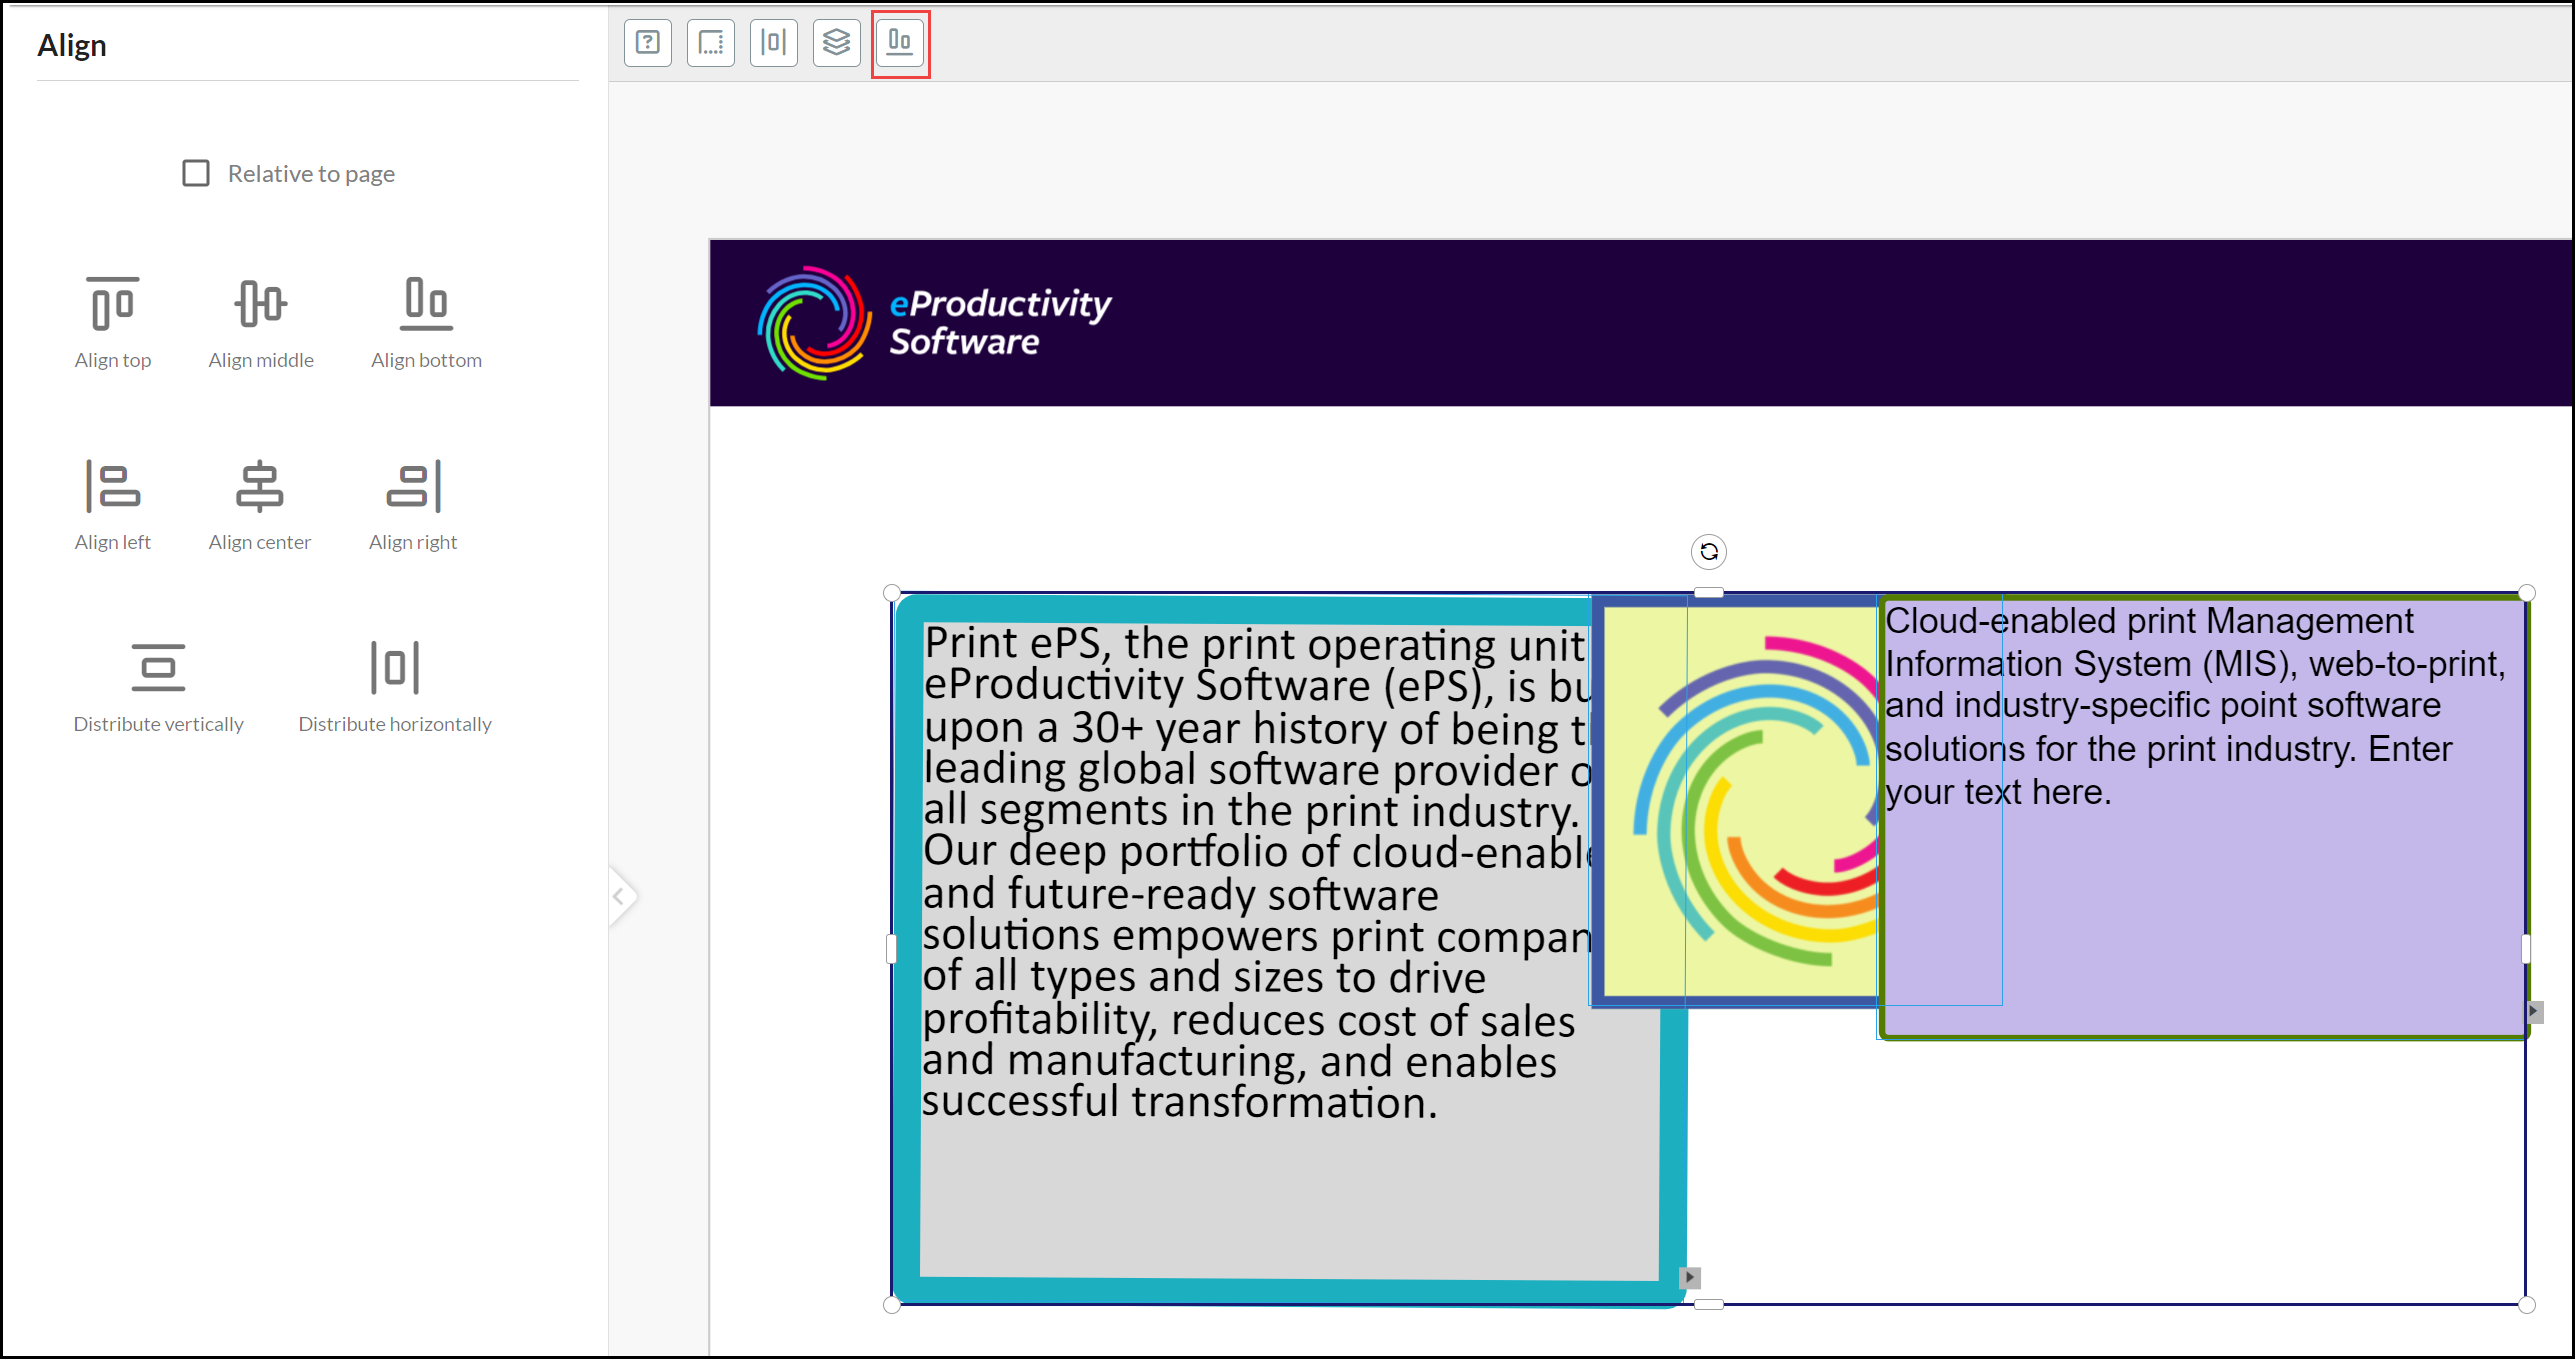
Alignment
Hold down the SHIFT key and select an Image element and at least one additional element. Select the Alignment Tool. Tick Relative to page if you want to align the elements according to relevant page edge rather than each other:
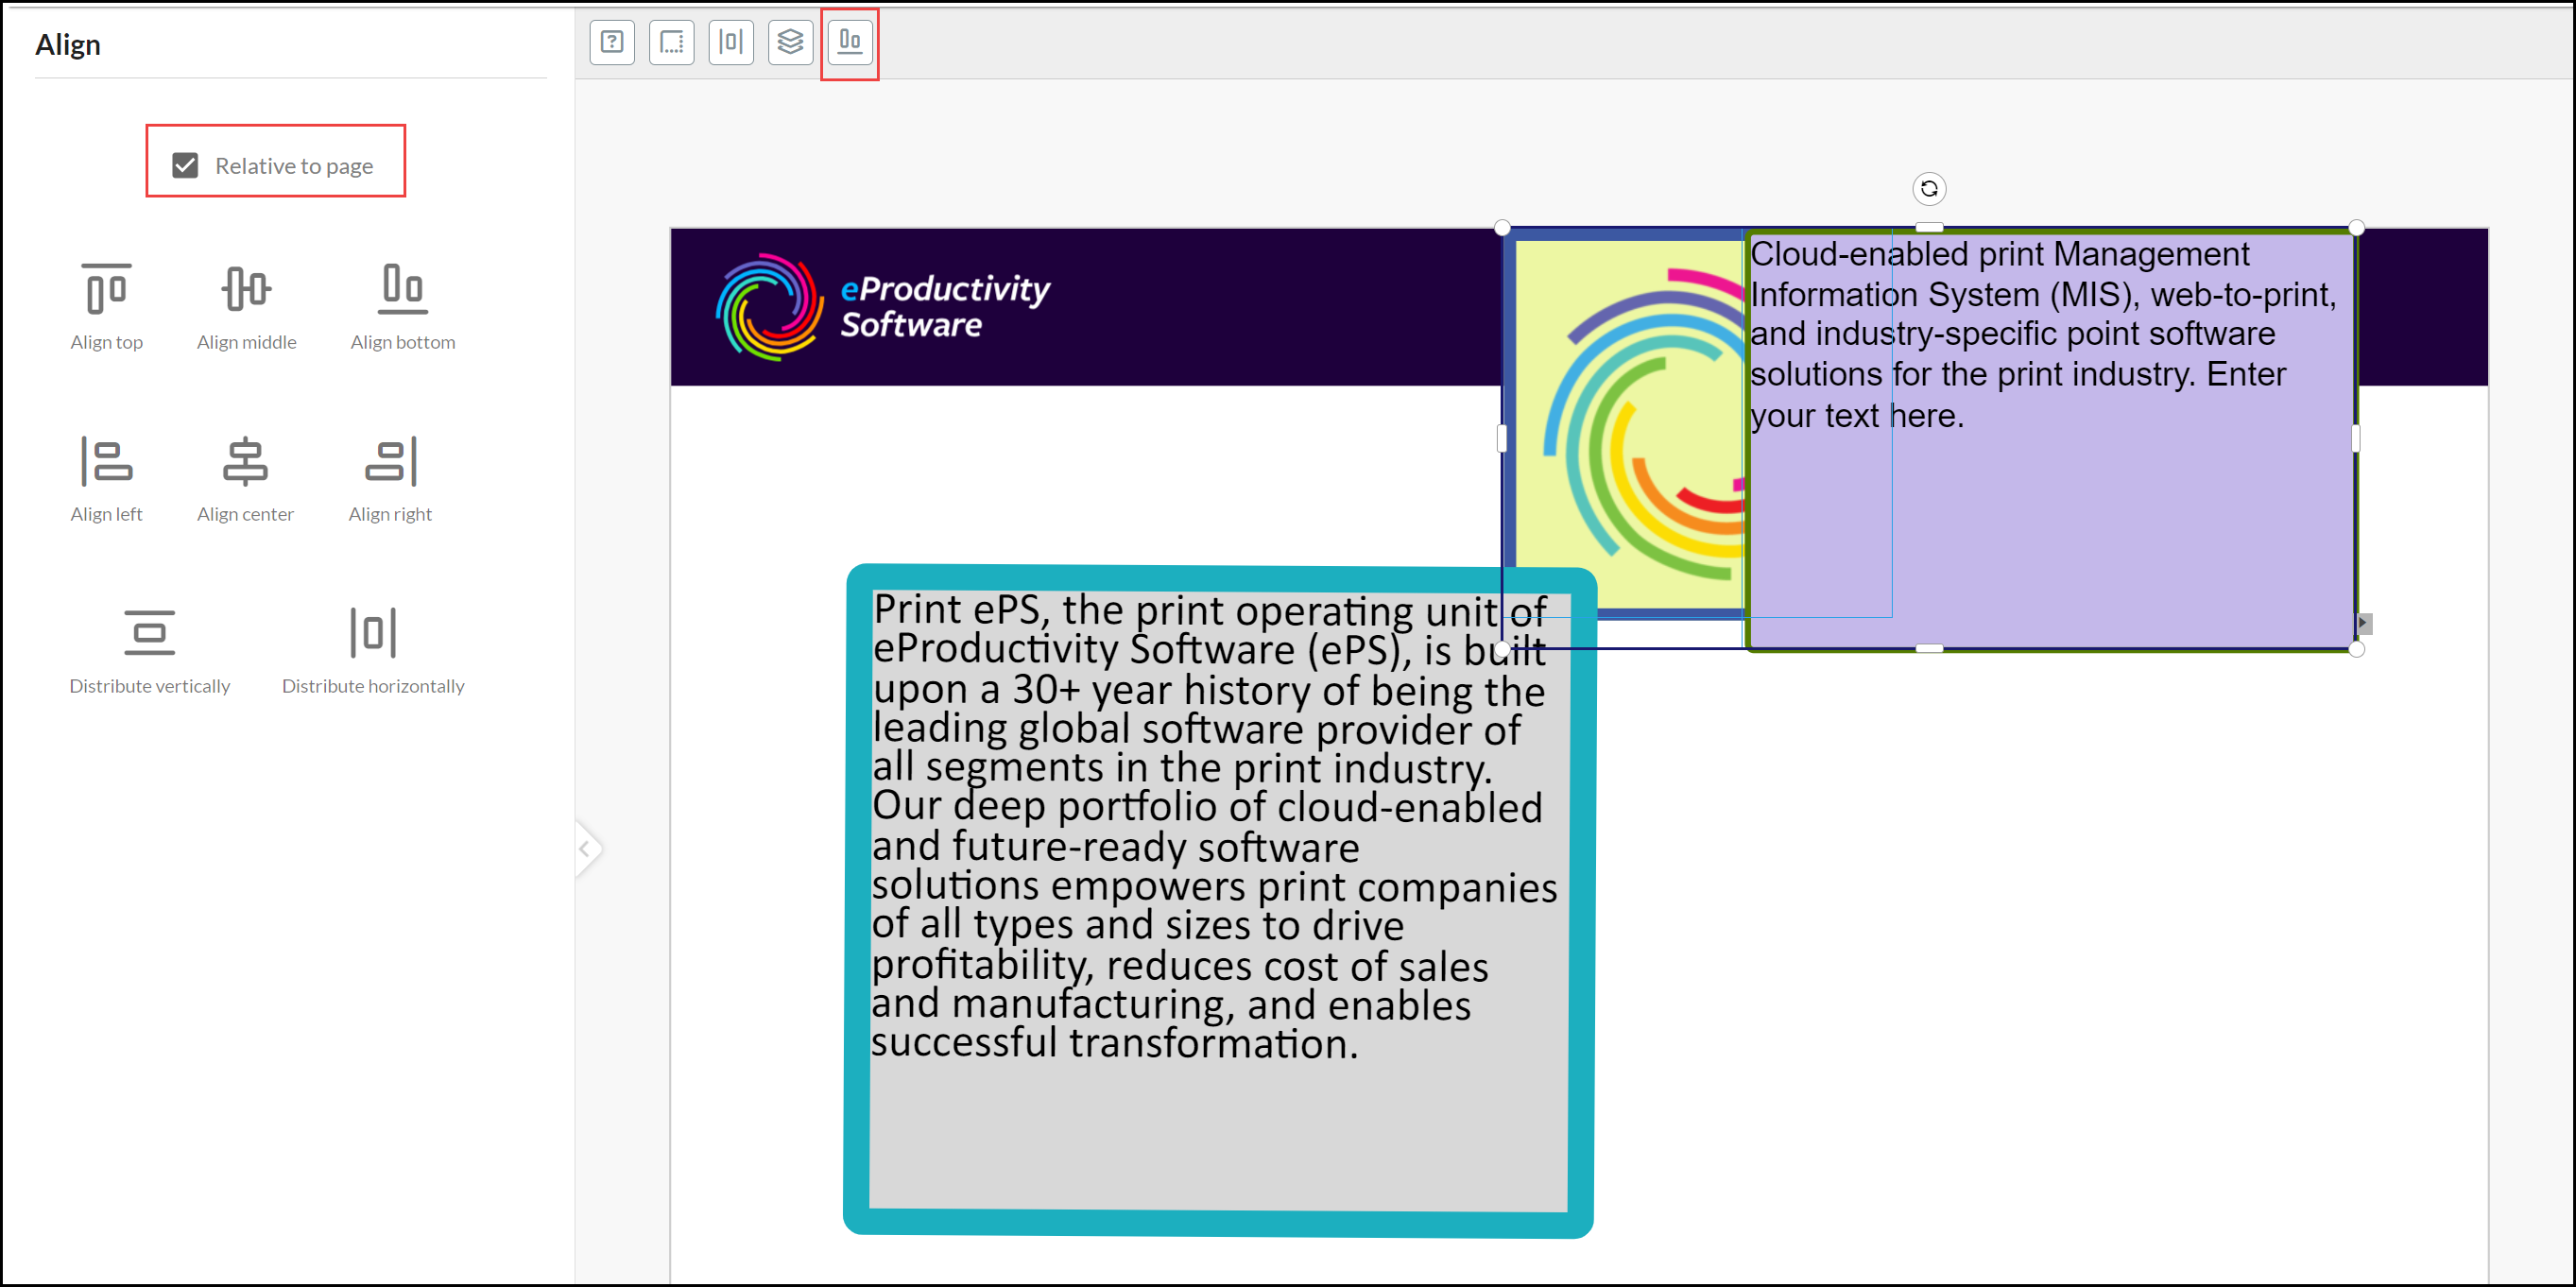
Align options are:
- Vertical to either top or bottom edge or the middle of elements.
- Horizontal to either the left or right edge or center of elements.
- Distribute vertically to provide an equal space between elements.
- Distribute horizontally to provide an equal space between elements.
See also: